


The truth is: over 90% of POD sellers experience a “zero sales” phase at the beginning.
So the real question isn’t just when your first sale will come—
it’s what determines how fast it happens.
Let’s break it down.
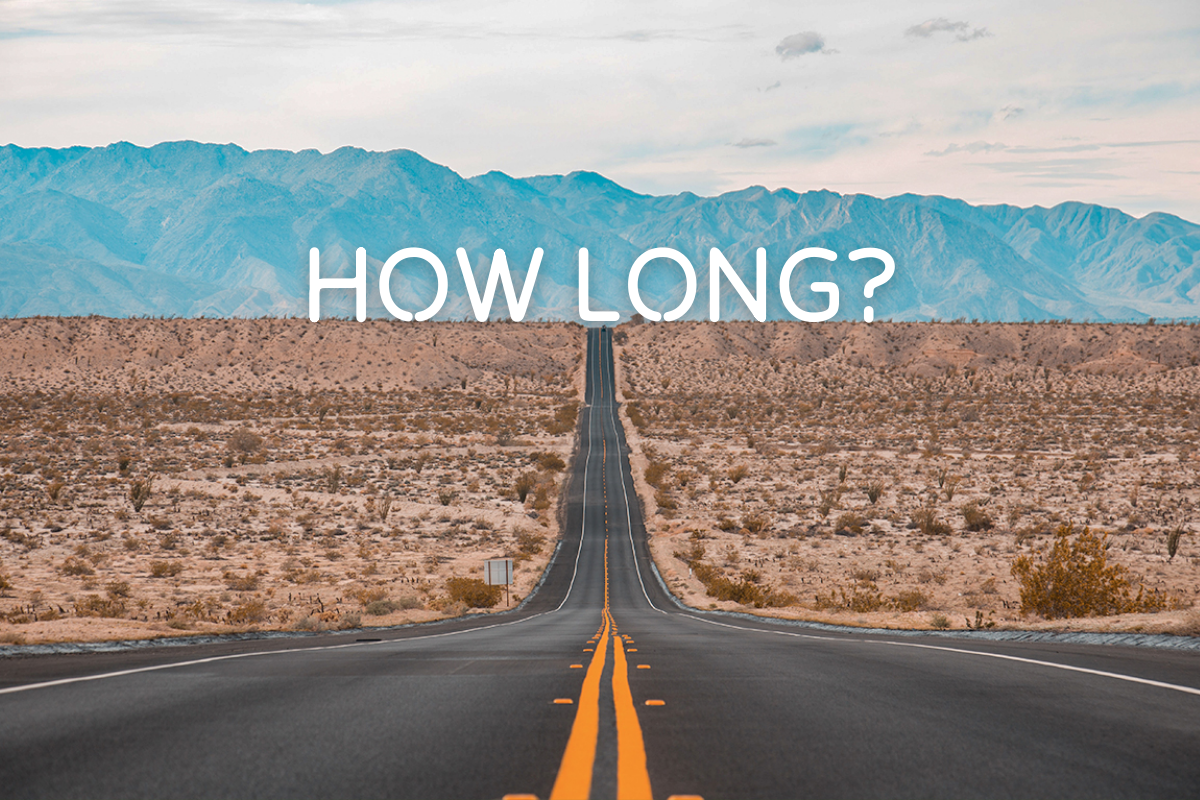
How Long Does It Take to Get Your First POD Sale?
There’s no universal timeline—but based on real seller data, most beginners fall into these three categories:
🚀 3–7 Days
Strong niche selection
Trend-based designs
Good traffic source
👉 Fast results usually come from aligned strategy + execution
⏳ 2–4 Weeks
Average product quality
Some traffic but not optimized
Still testing designs
👉 This is the most common scenario
🐢 1–3 Months (or longer)
No clear niche
Weak designs
No traffic strategy
👉 This happens when the system isn’t working together.
What Actually Determines Your First Sale Speed?

Success in POD is not random—it’s a system. Here are the key factors:
1. Your Niche Selection
Choosing the right niche is critical.
❌ Common mistake:
Oversaturated markets (dogs, gym quotes, generic slogans)
✅ Better approach:
Specific audiences with clear identity
Emotional or relatable themes
👉 The more targeted your niche, the faster you convert.
2. Design That Connects (Not Just Looks Good)
Customers don’t buy “pretty designs”—they buy meaning.
A high-converting design should:
Communicate clearly in 3 seconds
Speak to a specific audience
Trigger emotion or identity
👉 If your design doesn’t connect instantly, it won’t sell.
3. Traffic: No Views = No Sales
You can’t get sales without traffic. Period.
Choose ONE main traffic source:
TikTok (short-form content)
SEO (Etsy, marketplaces)
Paid ads (Shopify stores)
👉 Focus beats multitasking when you’re starting out.
4. Platform Strategy Matters
Each platform behaves differently:
Marketplace (like Etsy)
Requires time for ranking
Relies on SEO optimization
Own store (like Shopify)
Requires you to bring traffic
Faster testing, but higher effort
👉 Picking the wrong platform—or not understanding it—will delay your first sale.
5. Supplier & Product Presentation
This is where many beginners fail.
Key elements:
High-quality mockups
Clear product descriptions
Competitive pricing
Reliable shipping time
👉 Even with traffic, poor presentation = no conversion.
With MerchFox, you get:
Clean, professional mockups
Stable fulfillment quality
Competitive production timelines
Which helps improve conversion rates from day one.
Why Many POD Sellers Don’t Get Sales

It’s rarely bad luck. Most failures come from:
Choosing overly broad niches
Copying unoriginal designs
No traffic strategy
Not testing enough products
Expecting instant results without optimization
👉 POD rewards iteration, not perfection.
How to Get Your First Sale Faster (Proven Strategies)
1. Follow Trends Instead of Guessing
Don’t start from zero—start from what’s already working.
Look for:
TikTok trends
Seasonal events (US holidays)
Viral design formats
👉 Trend + niche = faster validation
2. Test Fast, Test Often
Stop overthinking one product.
Better strategy:
Launch multiple designs daily
Track performance
Kill losers quickly
👉 Speed is your biggest advantage early on.
3. Focus on One Traffic Channel
Avoid doing everything at once.
Pick ONE:
Organic content
Paid ads
SEO
👉 Master one channel before expanding.
4. Use AI to Speed Up Execution
Tools like AI can help you:
Generate design ideas
Create artwork faster
Write product descriptions
Optimize listings
👉 Faster execution = more testing = faster results
5. Optimize Your Store for Conversion
Make sure your store is ready to sell:
Eye-catching mockups
Clear product benefits
Transparent shipping times
Competitive pricing
👉 Small improvements here can dramatically increase sales.
When Should You Change Your Strategy?

Knowing when to pivot is key.
Timeline check:
After 5–7 days: No sales → Normal
After 2 weeks: Review design or traffic
After 1 month: Change your strategy completely
👉 If nothing changes, nothing improves.
Why MerchFox Helps You Get Sales Faster

Your supplier plays a bigger role than you think.
With MerchFox, you can:
✔ Launch products quickly
✔ Use high-quality mockups
✔ Offer reliable shipping times
✔ Scale without inventory risk
👉 This removes friction and helps you focus on what matters: selling.
Final Thoughts: Your First Sale Is a Result, Not Luck
There’s no fixed timeline for your first POD sale.
👉 But here’s the truth:
If you do it right → You can get sales in days
If you do it blindly → It may take months
Instead of waiting, focus on:
Better niche
Better designs
Better traffic
Better execution
When your system is aligned,
your first sale isn’t a question of “if”—it’s just “when.”
Ready to Launch Your First Winning Product?
Start building your POD system with MerchFox today—
and turn your first sale into a scalable business.
🚀 Don’t wait for results. Build the system that creates them.


