

Looking ahead to 2025, it’s the perfect time to get a head start on those special DIY Christmas gifts. Whether you're a seasoned crafter or just starting out, this guide offers a treasure trove of creative ideas that are both easy to make and guaranteed to spark joy. We'll explore personalized gifting, from unique home decor to cozy apparel, showing you how simple tools like MerchFox can help you achieve professional-quality results right from your home.
Table of Contents
Why Choose DIY for Your Christmas Gifting This Year?
14 Creative DIY Christmas Gift Ideas You Can Easily Make for 2025
Where to Find Inspiration for Your Next DIY Christmas Gift
Crafting Your Creative DIY Christmas Gifts in Just a Few Clicks with MerchFox
FAQ: Your Top Questions About DIY Christmas Gifts Answered
Why Choose DIY for Your Christmas Gifting This Year?
Choosing to craft DIY Christmas gifts goes beyond simply saving money; it’s about infusing your presents with unparalleled meaning and connection. There’s a profound satisfaction in knowing that the gift you’re giving was made by your own hands, specifically for someone special.
The Power of Personalization: Crafting Gifts That Speak Volumes and Create Lasting Memories
In a world filled with mass-produced items, a personalized gift stands out. Imagine a mug adorned with an inside joke or a piece of wall art featuring a cherished family photo. These custom touches transform an ordinary object into a precious keepsake, creating moments and memories that resonate deeply. According to MerchFox, the most impactful gifts are those that tell a story or reflect the unique personality of the recipient.
Budget-Friendly Brilliance: Creative Ideas That Are Kind to Your Wallet
One of the most practical benefits of making DIY Christmas gifts is the potential for significant cost savings. By sourcing materials thoughtfully and leveraging platforms like MerchFox for custom elements, you can create stunning, high-quality presents without breaking the bank. It's about smart gifting that maximizes thoughtfulness over extravagant spending.
Sustainable & Thoughtful Giving: Reducing Waste with Gifts Made with Love
Embracing DIY also aligns perfectly with a more sustainable lifestyle. By making gifts yourself, you often use fewer resources, reduce packaging waste, and support a more thoughtful consumption cycle. It's an eco-conscious approach to gifting that shows care not just for your loved ones, but for the planet too.
The Joy of Creating: An Experience That's Rewarding for Both Giver and Receiver
The act of creation itself is a fulfilling experience. From brainstorming ideas to seeing your vision come to life, the process of making DIY Christmas gifts can be incredibly therapeutic and enjoyable. And this joy is often infectious, transferring from the giver to the receiver, making the entire holiday season feel more special and connected.
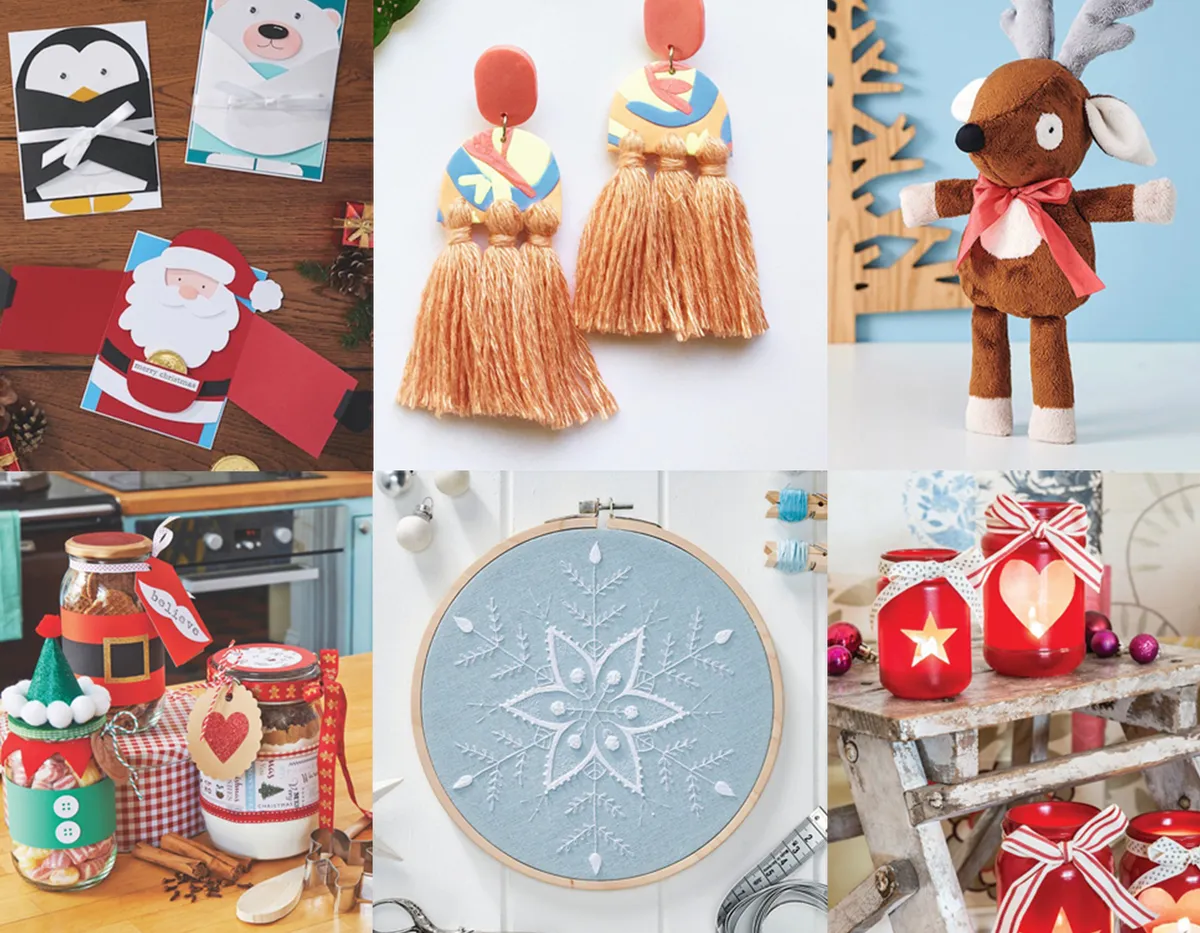
14 Creative DIY Christmas Gift Ideas You Can Easily Make for 2025
This section dives into a curated list of DIY Christmas gifts: 14 Creative ideas for 2025 that blend the charm of handmade artistry with the professional-quality results you can achieve using tools like MerchFox. Each idea is designed to be accessible, allowing you to create truly unique presents without needing advanced crafting skills.
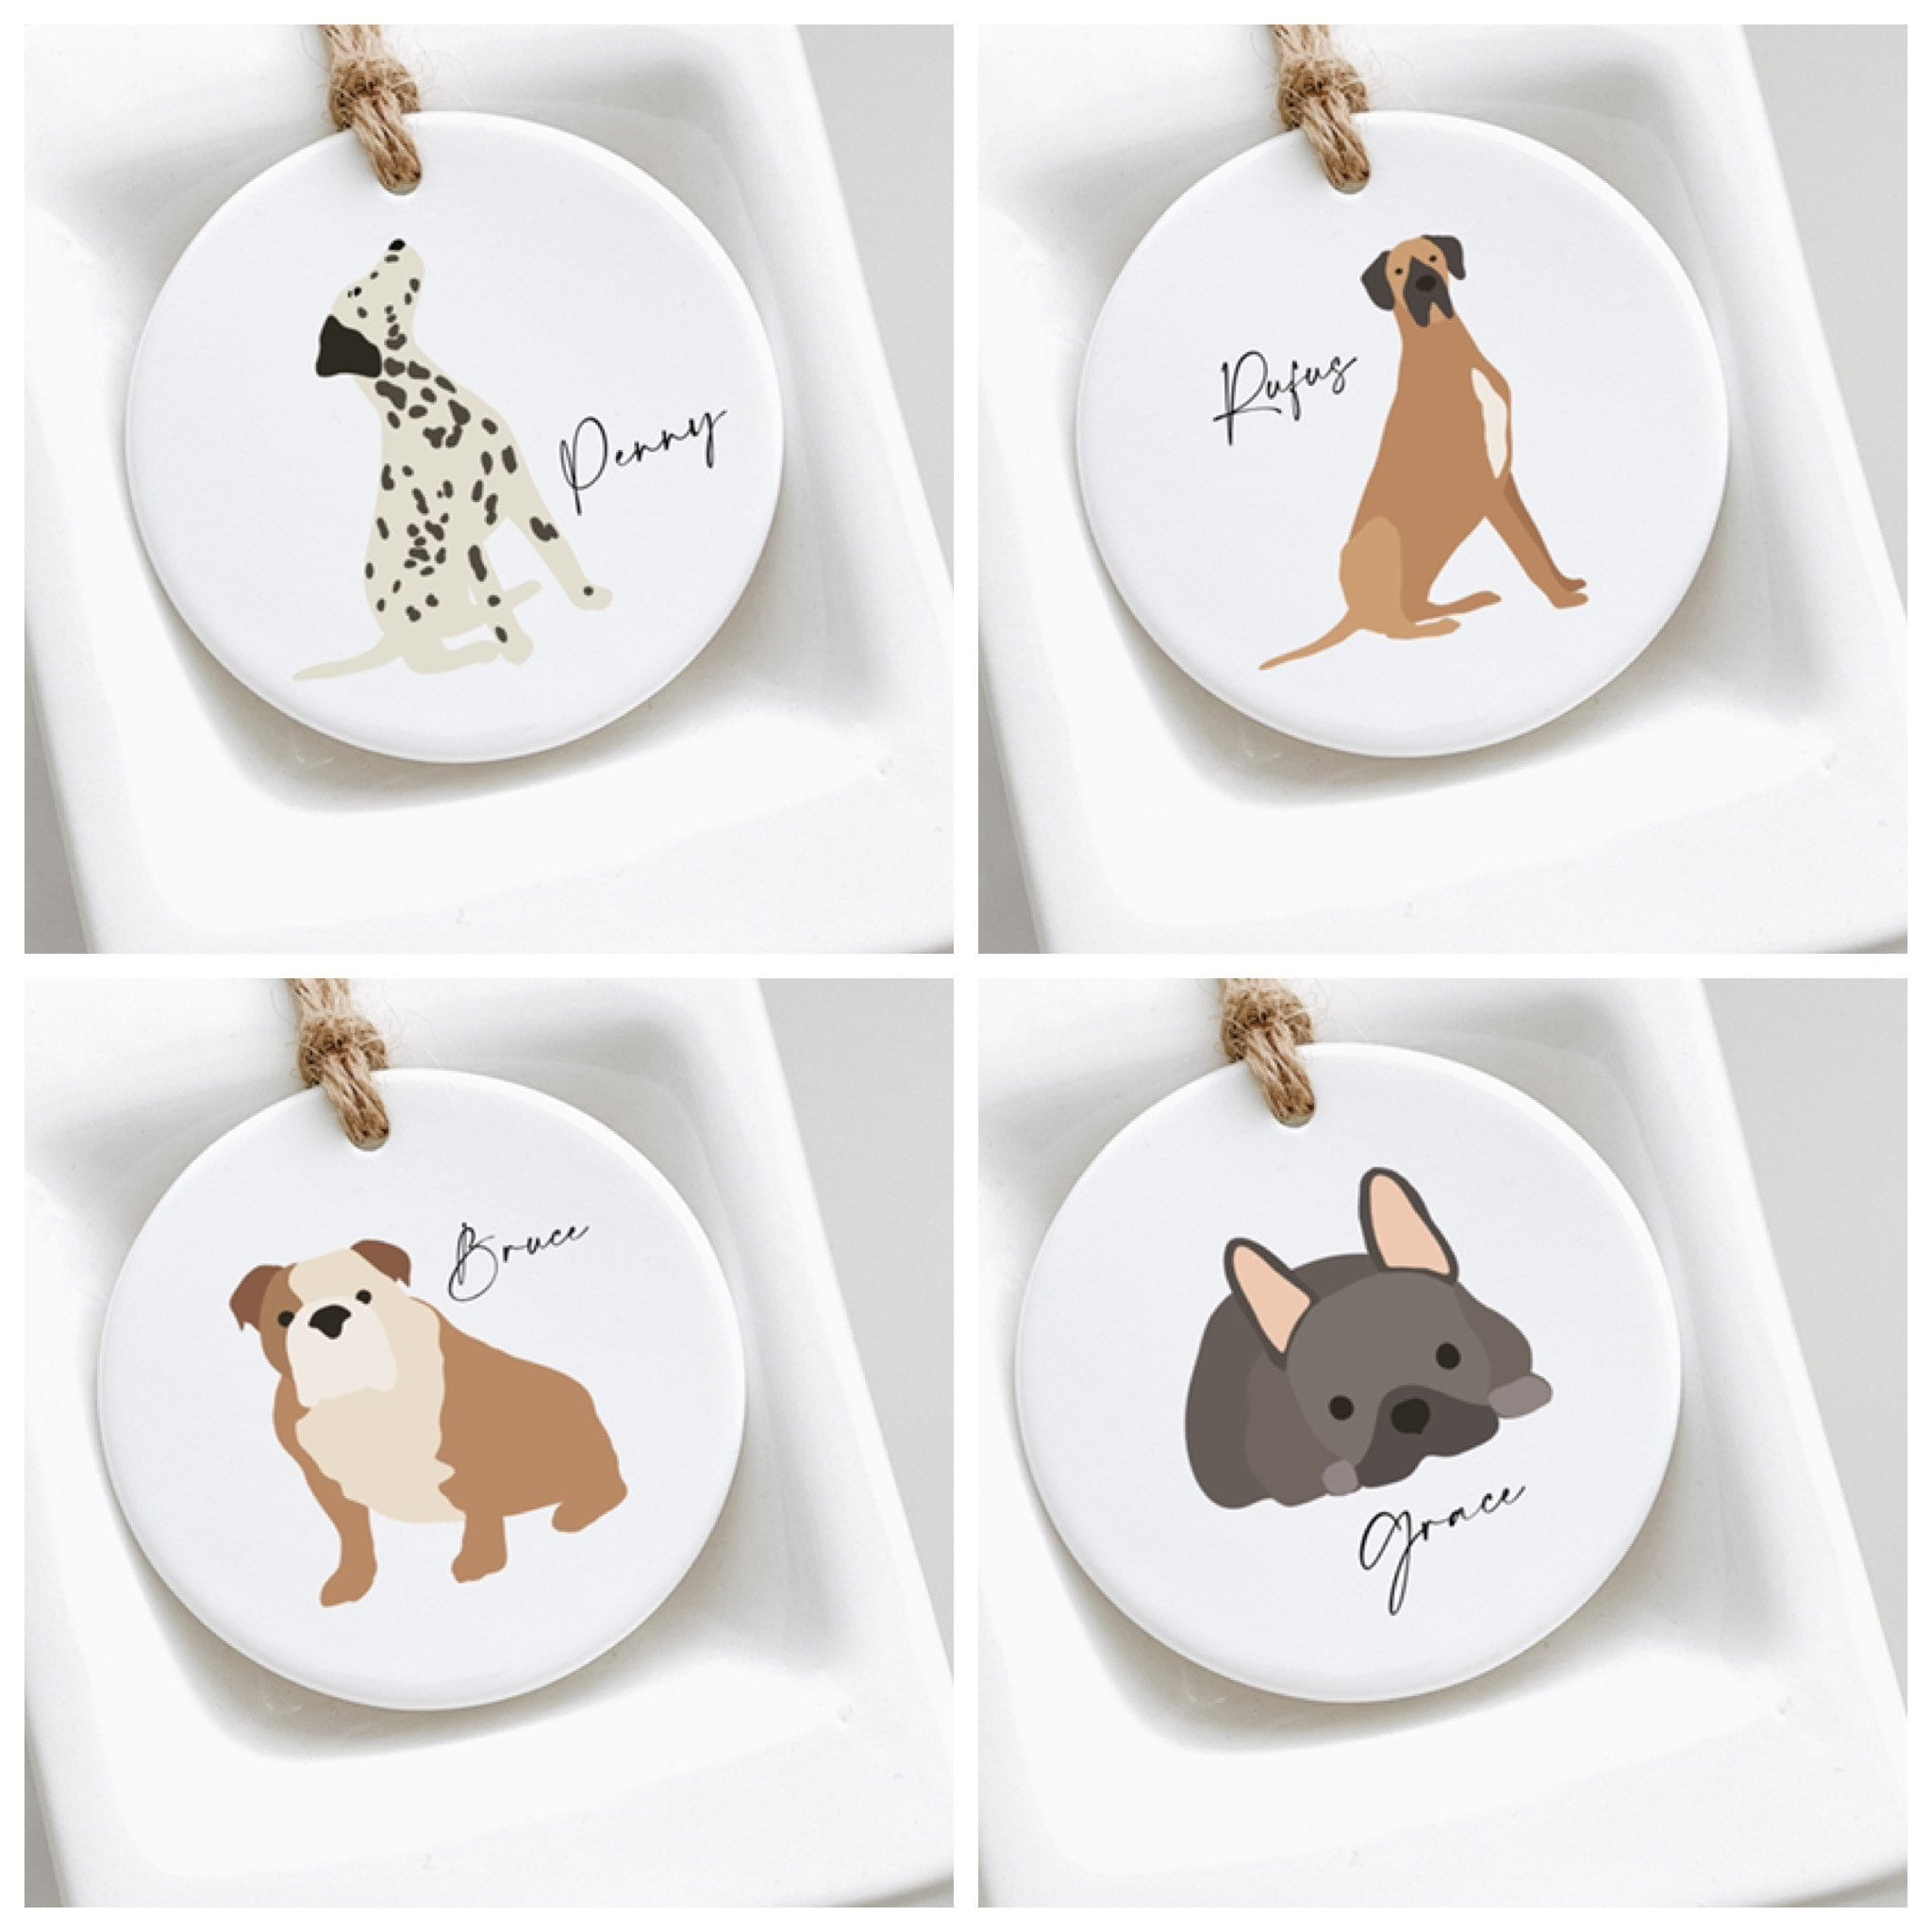
1. Custom Ornaments: A Cherished Keepsake for Their Tree.
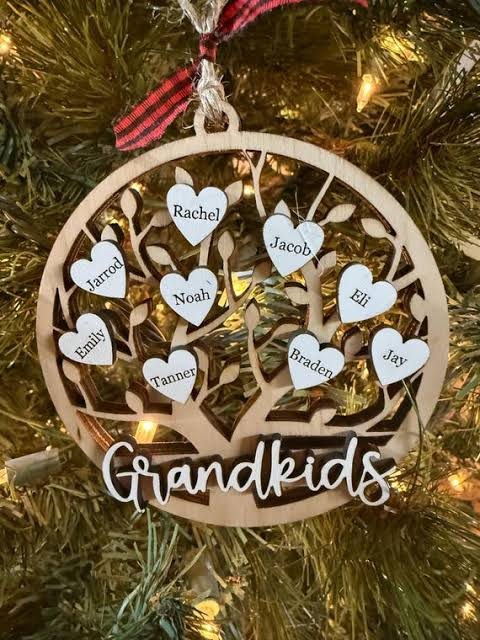
Imagine their delight year after year as they hang a custom ornament you designed. You can create personalized ceramic ornament or glass ornaments featuring family photos, a pet's likeness, or a meaningful date. MerchFox's customizable ornament options make it incredibly easy to upload your unique designs and have them printed on high-quality materials, turning a simple decoration into a lasting memory.
Explore more at https://merchfox.com/all-products?categoryIds=28
2. Personalized Mugs & Drinkware: Their New Favorite Morning Brew Companion.
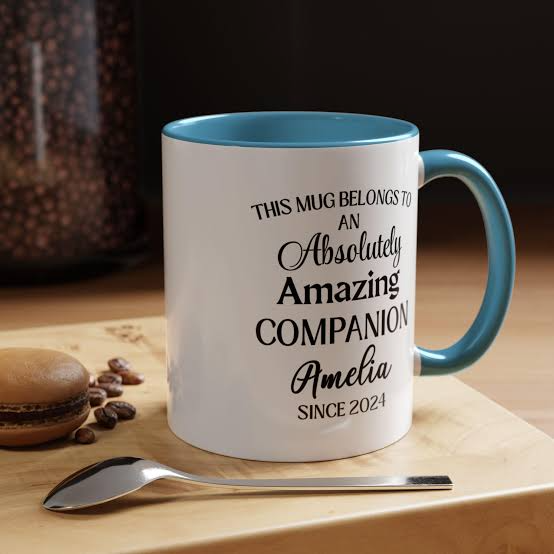
Everyone loves a good mug, and a personalized one makes every sip special. Design custom mugs like ceramic mug or accent mug with unique illustrations, witty quotes, or a collage of photos. With MerchFox's wide range of custom drinkware, you can easily create durable, beautifully printed items that will become a daily reminder of your thoughtfulness. These make fantastic DIY Christmas gifts for coffee lovers and tea enthusiasts alike.
Explore more at https://merchfox.com/all-products?categoryIds=28
3. Cozy Custom Sweaters or Hoodies: Warmth with a Personal Touch.
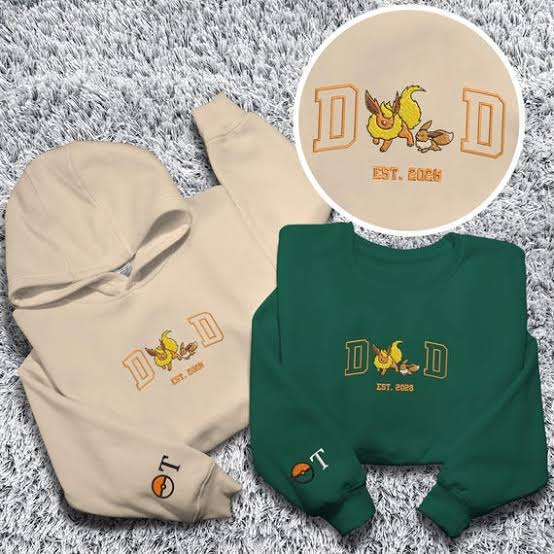
Give the gift of comfort and style with a custom-designed sweater or hoodie. Think unique holiday-themed graphics, inside jokes, or minimalist designs that reflect their personality. MerchFox's print-on-demand clothing allows you to choose from various apparel styles and colors, ensuring a comfortable, high-quality garment that feels both cozy and custom-made.
Explore more at https://merchfox.com/all-products?categoryIds=2
4. Scented Candles or Room Sprays: Crafting a Cozy Ambiance.

Hand-poured scented candles or DIY room sprays are wonderful for creating a relaxing atmosphere. You can customize the scents to match the recipient's preferences. For a truly professional look, use MerchFox to design custom labels for your jars and bottles, adding a polished, branded touch to your handmade creations. It's a thoughtful way to give a gift of calm.
5. Handmade Tote Bags or Pouches: Stylish & Practical Everyday Essentials.
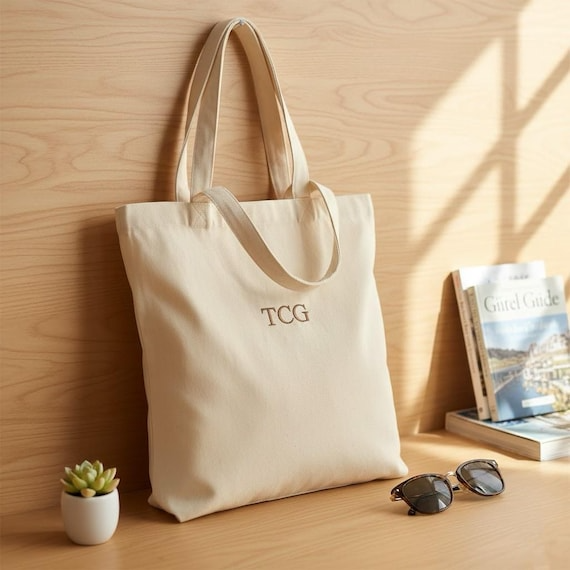
A custom-printed tote bag is incredibly versatile, perfect for shopping, carrying books, or as a gym bag. Similarly, smaller pouches can be great for cosmetics or organizing essentials. Design unique patterns, inspirational quotes, or even a custom illustration. MerchFox offers eco-friendly and customizable bag options, allowing you to create durable and stylish accessories that are both practical and personal. These are excellent DIY Christmas gifts for anyone on the go.
Explore more at https://merchfox.com/all-products?categoryIds=2
6. Custom Journals or Notebooks: For the Aspiring Writer or Planner.
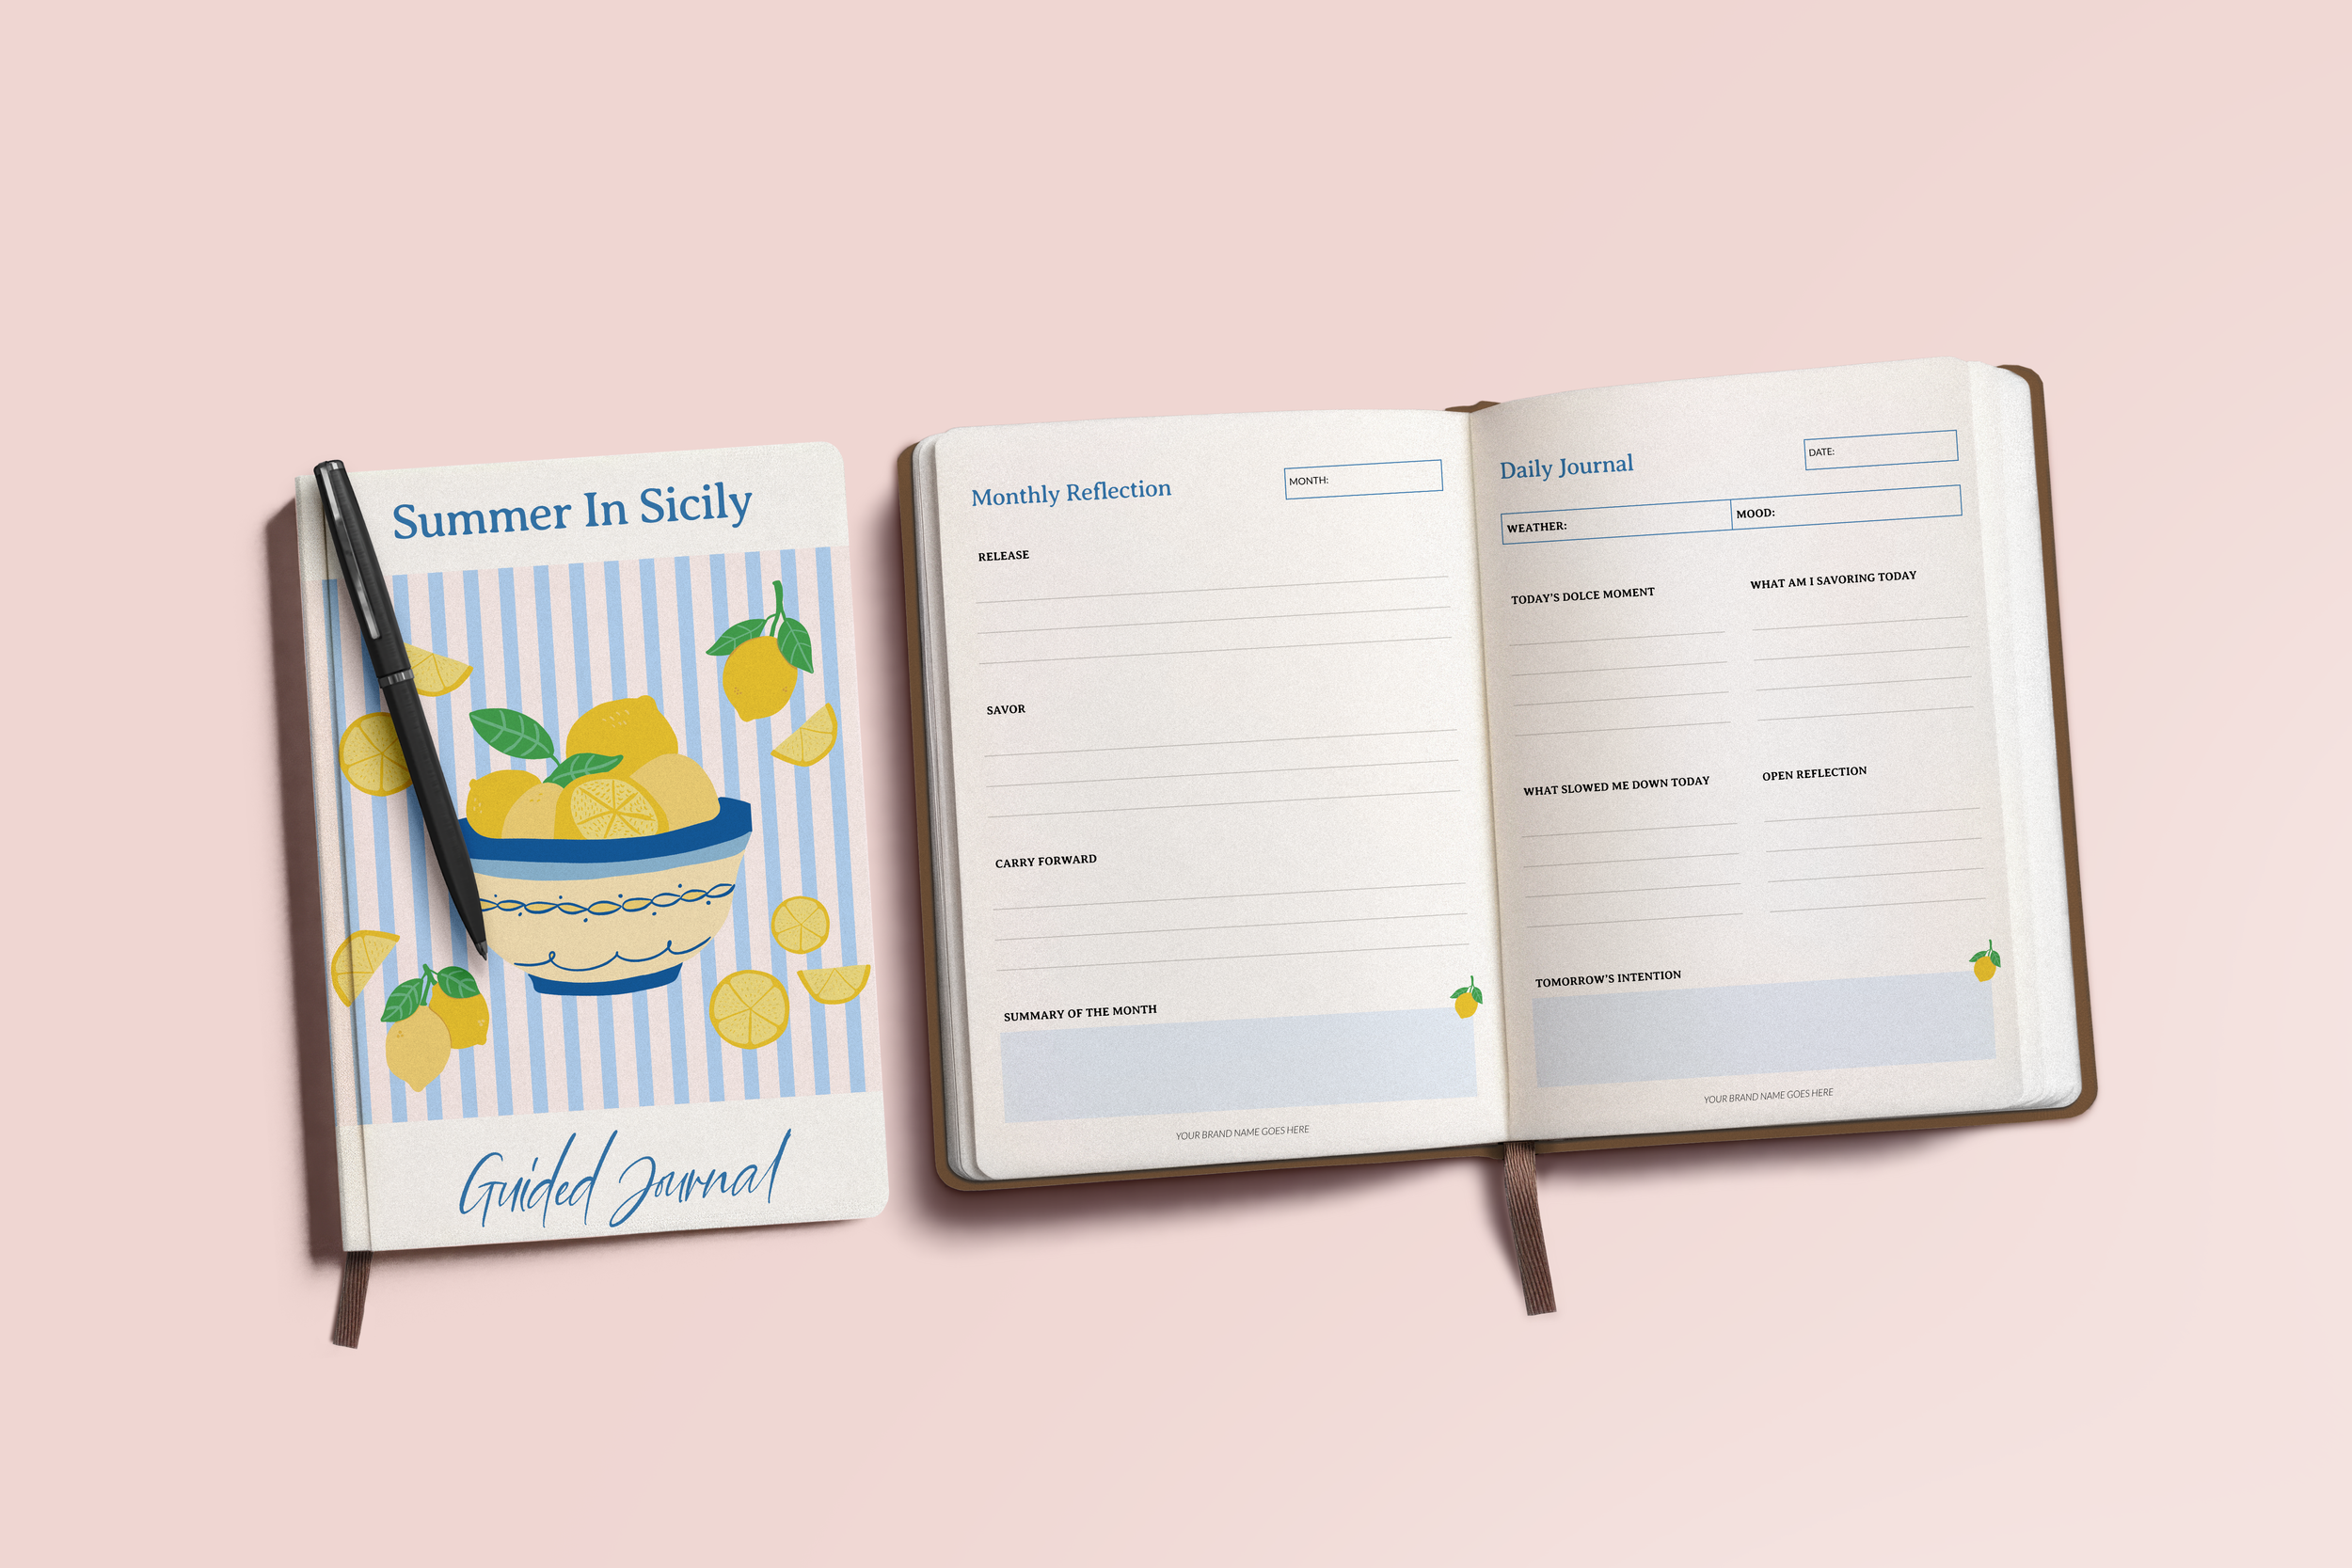
Encourage creativity and organization with a personalized journal or notebook. Design unique covers with inspiring artwork, a monogram, or a photo collage. MerchFox's custom stationery products provide a professional finish, ensuring your thoughtful gift looks just as good as a store-bought item, but with a deeply personal touch.
7. Artistic Wall Art or Posters: Decor That Reflects Their Personality.

Help them adorn their living space with art that speaks to them. Custom prints of cherished photos, beautiful illustrations, or powerful inspiring quotes can transform any room. MerchFox offers various print options, including canvases and posters, making it easy to turn your digital art or photography into a tangible piece of decor that reflects their unique taste.
Explore more at https://merchfox.com/all-products?categoryIds=28
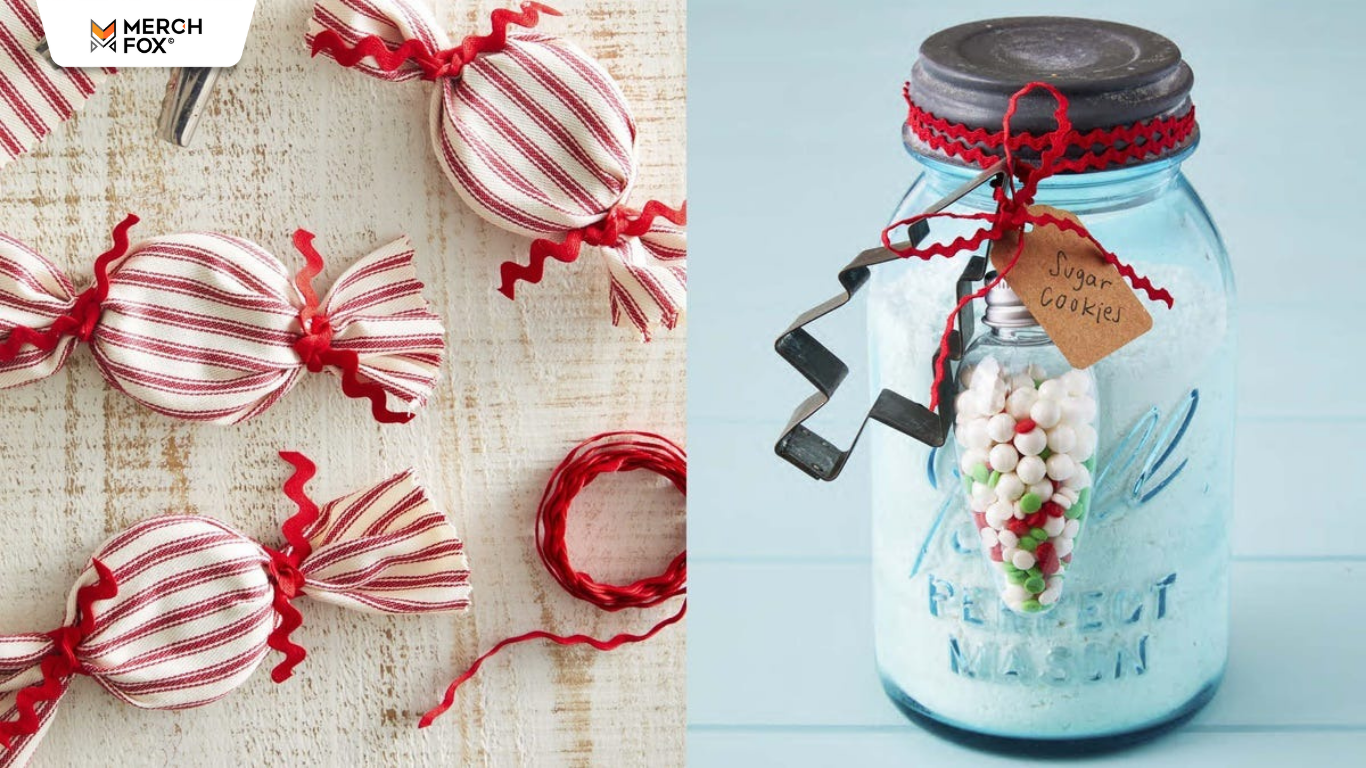
8. Gourmet Food Baskets or Jars: Delicious Homemade Treats.
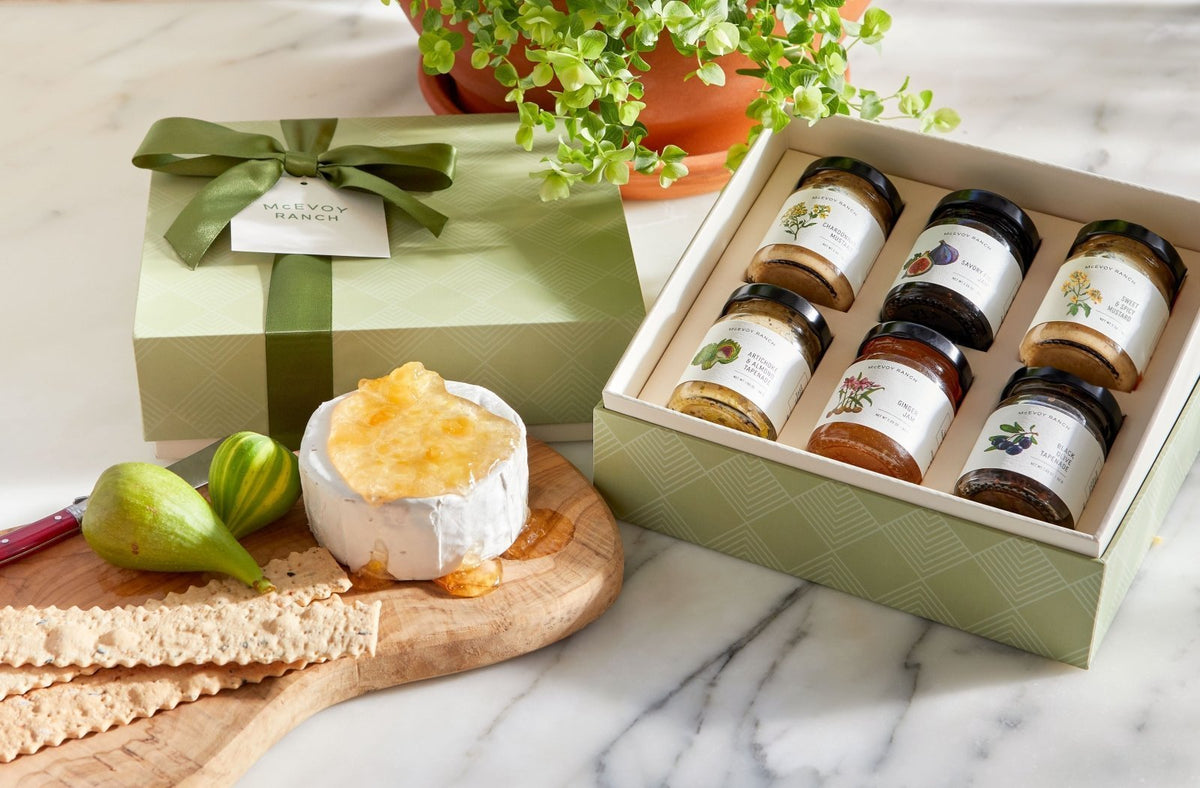
Few gifts are as universally loved as homemade edibles. Consider DIY cookie mixes in a jar, artisanal hot cocoa bombs, or small batches of homemade jams and preserves. To elevate these delicious DIY Christmas gifts, use MerchFox to design custom labels for your jars and packaging, adding a professional and charming touch to your gourmet creations.
9. Personalized Pet Accessories: Gifts for Furry Friends and Their Owners.
Don't forget the beloved pets! Custom bandanas for their dog or cat, personalized pet bowls, or even a custom-designed cover for their pet bed are wonderfully thoughtful. MerchFox's pet-friendly product options allow you to create durable and adorable items that celebrate their furry family members.
10. Photo Albums or Scrapbooks: A Journey Down Memory Lane.
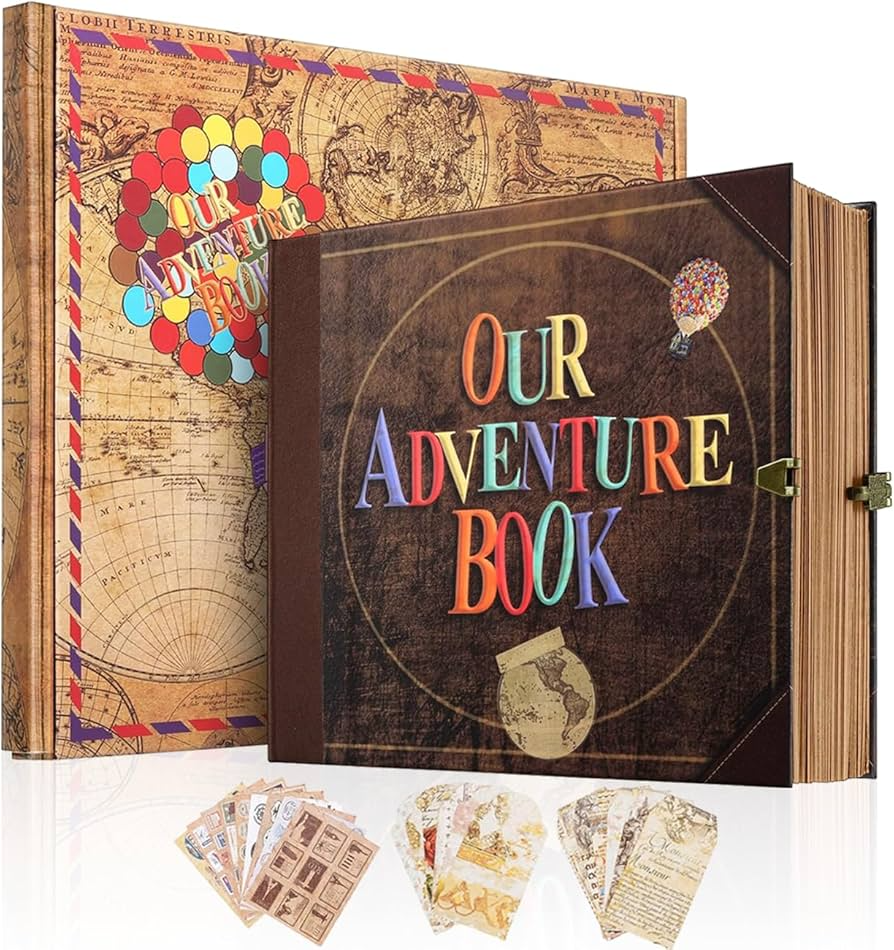
Curate a collection of special photos, add handwritten notes, and create a beautiful photo album or scrapbook. It’s a timeless way to celebrate shared memories. While the interior is hands-on, consider using MerchFox options for custom covers to make the exterior extra special, featuring a personalized title or a favorite group photo.
11. DIY Coasters or Trivets: Functional Home Decor with a Personal Flair.
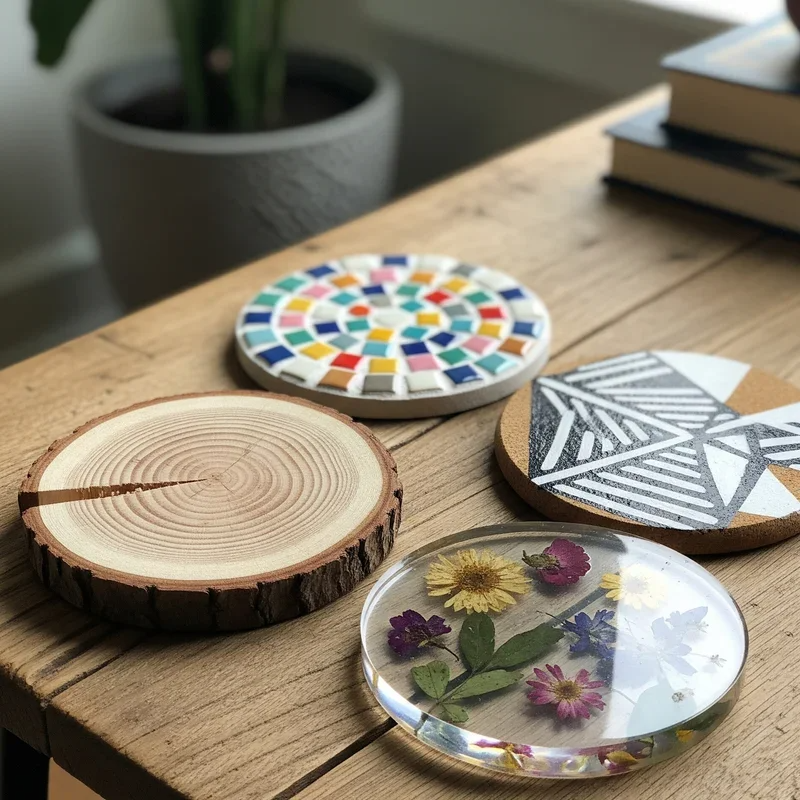
Protect their surfaces with style! Custom-printed ceramic or wood coasters featuring unique designs, monograms, or memorable photos are both practical and decorative. MerchFox's range of custom home goods makes it simple to create high-quality, durable coasters that add a personal touch to any coffee table or dining space. These are fantastic practical DIY Christmas gifts.
12. Custom Apparel for Babies & Kids: Adorable and Unique for Little Ones.
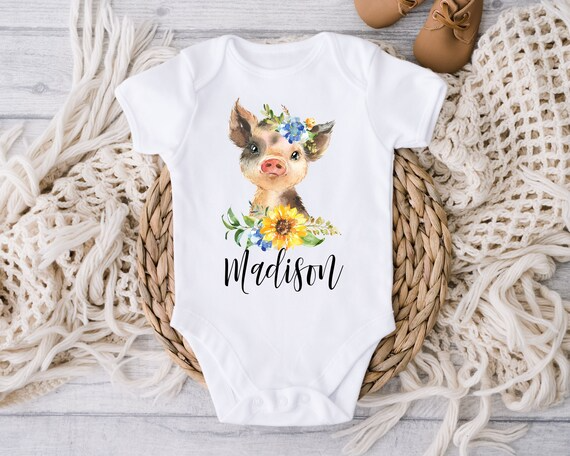
Parents adore personalized items for their children. Design personalized bodysuits, t-shirts, or blankets with cute illustrations, their name, or a funny slogan. MerchFox's selection of kids' apparel ensures you can create safe, comfortable, and utterly adorable items that will be cherished by both parents and little ones.
Explore more at https://merchfox.com/all-products?categoryIds=30
13. Creative Gift Tags & Wrapping Paper: The Final, Personalized Touch.

The presentation of a gift is almost as important as the gift itself. Design your own unique gift tags and wrapping paper patterns to match the theme of your DIY Christmas gifts. While you might print these at home, you could use MerchFox to create unique, branded elements (like stickers or custom notecards) that elevate your entire gift-giving experience, making it truly cohesive and special.
14. Curated Experience Vouchers: Memories Over Material Things.
Sometimes, the best gift isn't an item at all, but an experience. Design a custom voucher for a homemade dinner, a personalized spa day at home, a fun class you’ll take together, or even a pre-paid "movie night in" kit. Use MerchFox to create beautiful, personalized vouchers that look professional and thoughtfully designed, making the promise of a future memory feel even more exciting.
Where to Find Inspiration for Your Next DIY Christmas Gift
Feeling a bit stuck? Don't worry, inspiration for DIY Christmas gifts is all around us, especially when you know where to look.
Exploring the MerchFox Blog: Dive into More Creative Ideas and Tutorials.
The MerchFox blog is a fantastic resource, full of articles, tutorials, and success stories that can spark your next big idea. You'll find detailed guides on how to use their tools for various products, as well as creative inspiration for designs and personalized touches. It’s a treasure trove for anyone looking to make unique items.
Pinterest Boards: A Visual Treasure Trove for Brainstorming Designs and Concepts.
Pinterest is an unparalleled visual search engine for creative ideas. Create your own boards to collect images, color palettes, typography, and design concepts for your DIY Christmas gifts. Seeing a wide array of possibilities can help you narrow down your vision and find exactly the aesthetic you're going for.
Reflecting on Loved Ones' Hobbies & Interests: Tailoring Ideas to Their Passions.
The most personal gifts come from truly knowing the recipient. Take some time to reflect on their hobbies, favorite colors, inside jokes, or recent life events. Do they love gardening? Are they obsessed with their cat? Do they have a new favorite saying? Tailoring your DIY Christmas gifts to their specific passions ensures the present will be genuinely appreciated and used.
Crafting Your Creative DIY Christmas Gifts in Just a Few Clicks with MerchFox
Bringing your DIY Christmas gifts to life has never been easier, especially when you leverage the power of platforms like MerchFox. This service bridges the gap between your handmade creativity and a professional, high-quality finish.
How MerchFox Simplifies DIY Gifting: A Quick Guide to the Design and Order Process.
MerchFox streamlines the entire process, making it accessible even for those without graphic design experience. You simply choose your desired product (like a mug, T-shirt, or ornament), upload your design (a photo, illustration, or text), and use their intuitive mockup generator to see exactly how it will look. Once you're happy, you place your order, and MerchFox handles the printing and shipping directly to you. It takes the stress out of production and lets you focus on the creative aspect of your DIY Christmas gifts.
Bridging Handmade Charm with Professional Finish: The Benefits of Print-on-Demand for Unique Gifts.
The beauty of using a print-on-demand service like MerchFox is that it allows you to combine the heartfelt charm of a handmade gift with the polished look of a professionally manufactured item. You provide the unique vision and personalization, and MerchFox ensures the execution is top-notch, with vibrant colors and durable materials. This means your DIY Christmas gifts will not only be meaningful but also look fantastic and last for years to come.
Ready to craft your thoughtful holiday season? Start designing with MerchFox!
The time to plan your thoughtful holiday season is now. Don't let another year pass with generic gifts. Dive into the world of personalized, heartfelt giving. Ready to make your DIY Christmas gifts truly shine in 2025? Visit MerchFox today and start bringing your creative visions to life!
FAQ: Your Top Questions About DIY Christmas Gifts Answered
What is the "5 Gift Rule" for Christmas, and how can DIY fit in?
The "5 Gift Rule" suggests giving five types of gifts: something they want, something they need, something to wear, something to read, and an experience. DIY Christmas gifts can fit perfectly into almost all these categories. For example, a custom-designed sweater is "something to wear," a personalized journal is "something to read," and a handmade voucher for a special activity is "an experience."
What are the easiest DIY Christmas gifts to make last minute?
For last-minute DIY Christmas gifts, focus on speed and simplicity. Ideas include customized print-on-demand items like mugs or t-shirts (as long as you account for shipping), gourmet food mixes in a jar, custom labels for store-bought items, or a beautifully designed experience voucher that can be printed instantly.
How can I truly personalize my homemade gifts for a unique touch?
To truly personalize your homemade gifts, think about the recipient's specific interests, hobbies, favorite colors, inside jokes, or cherished memories. Incorporate photos, monograms, their favorite quotes, or design elements that relate directly to their passions. The goal is to make the recipient feel seen and understood through your thoughtful creation.
When should I start planning my DIY Christmas gifts for 2025 to avoid stress?
For DIY Christmas gifts, it's always best to start planning early to avoid stress. Ideally, begin brainstorming and gathering materials in late summer or early fall (August/September). This gives you ample time for designing, ordering custom components (like those from MerchFox, considering their production and shipping times), and the actual crafting process without feeling rushed as the holidays approach.
Are DIY gifts really cheaper than store-bought ones, especially with custom options?
Yes, DIY Christmas gifts can often be significantly cheaper than store-bought alternatives, especially when you compare them to unique, personalized items in retail. While custom options from platforms like MerchFox involve a cost, they often offer better value for a personalized, high-quality item than bespoke creations from specialty shops. Plus, the intangible value of your time and effort makes them priceless.


