

The POD Market Is Expanding Beyond Apparel
For years, apparel has dominated the Print-on-Demand industry. T-shirts, hoodies, and sweatshirts remain top sellers, but competition in these categories continues to increase every year.
As more sellers enter the market, many are searching for products that offer:
Less competition
Strong visual impact
Seasonal demand
Unique customer appeal
One category attracting increasing attention is outdoor decor, particularly products designed for events, celebrations, sports seasons, and patriotic campaigns.
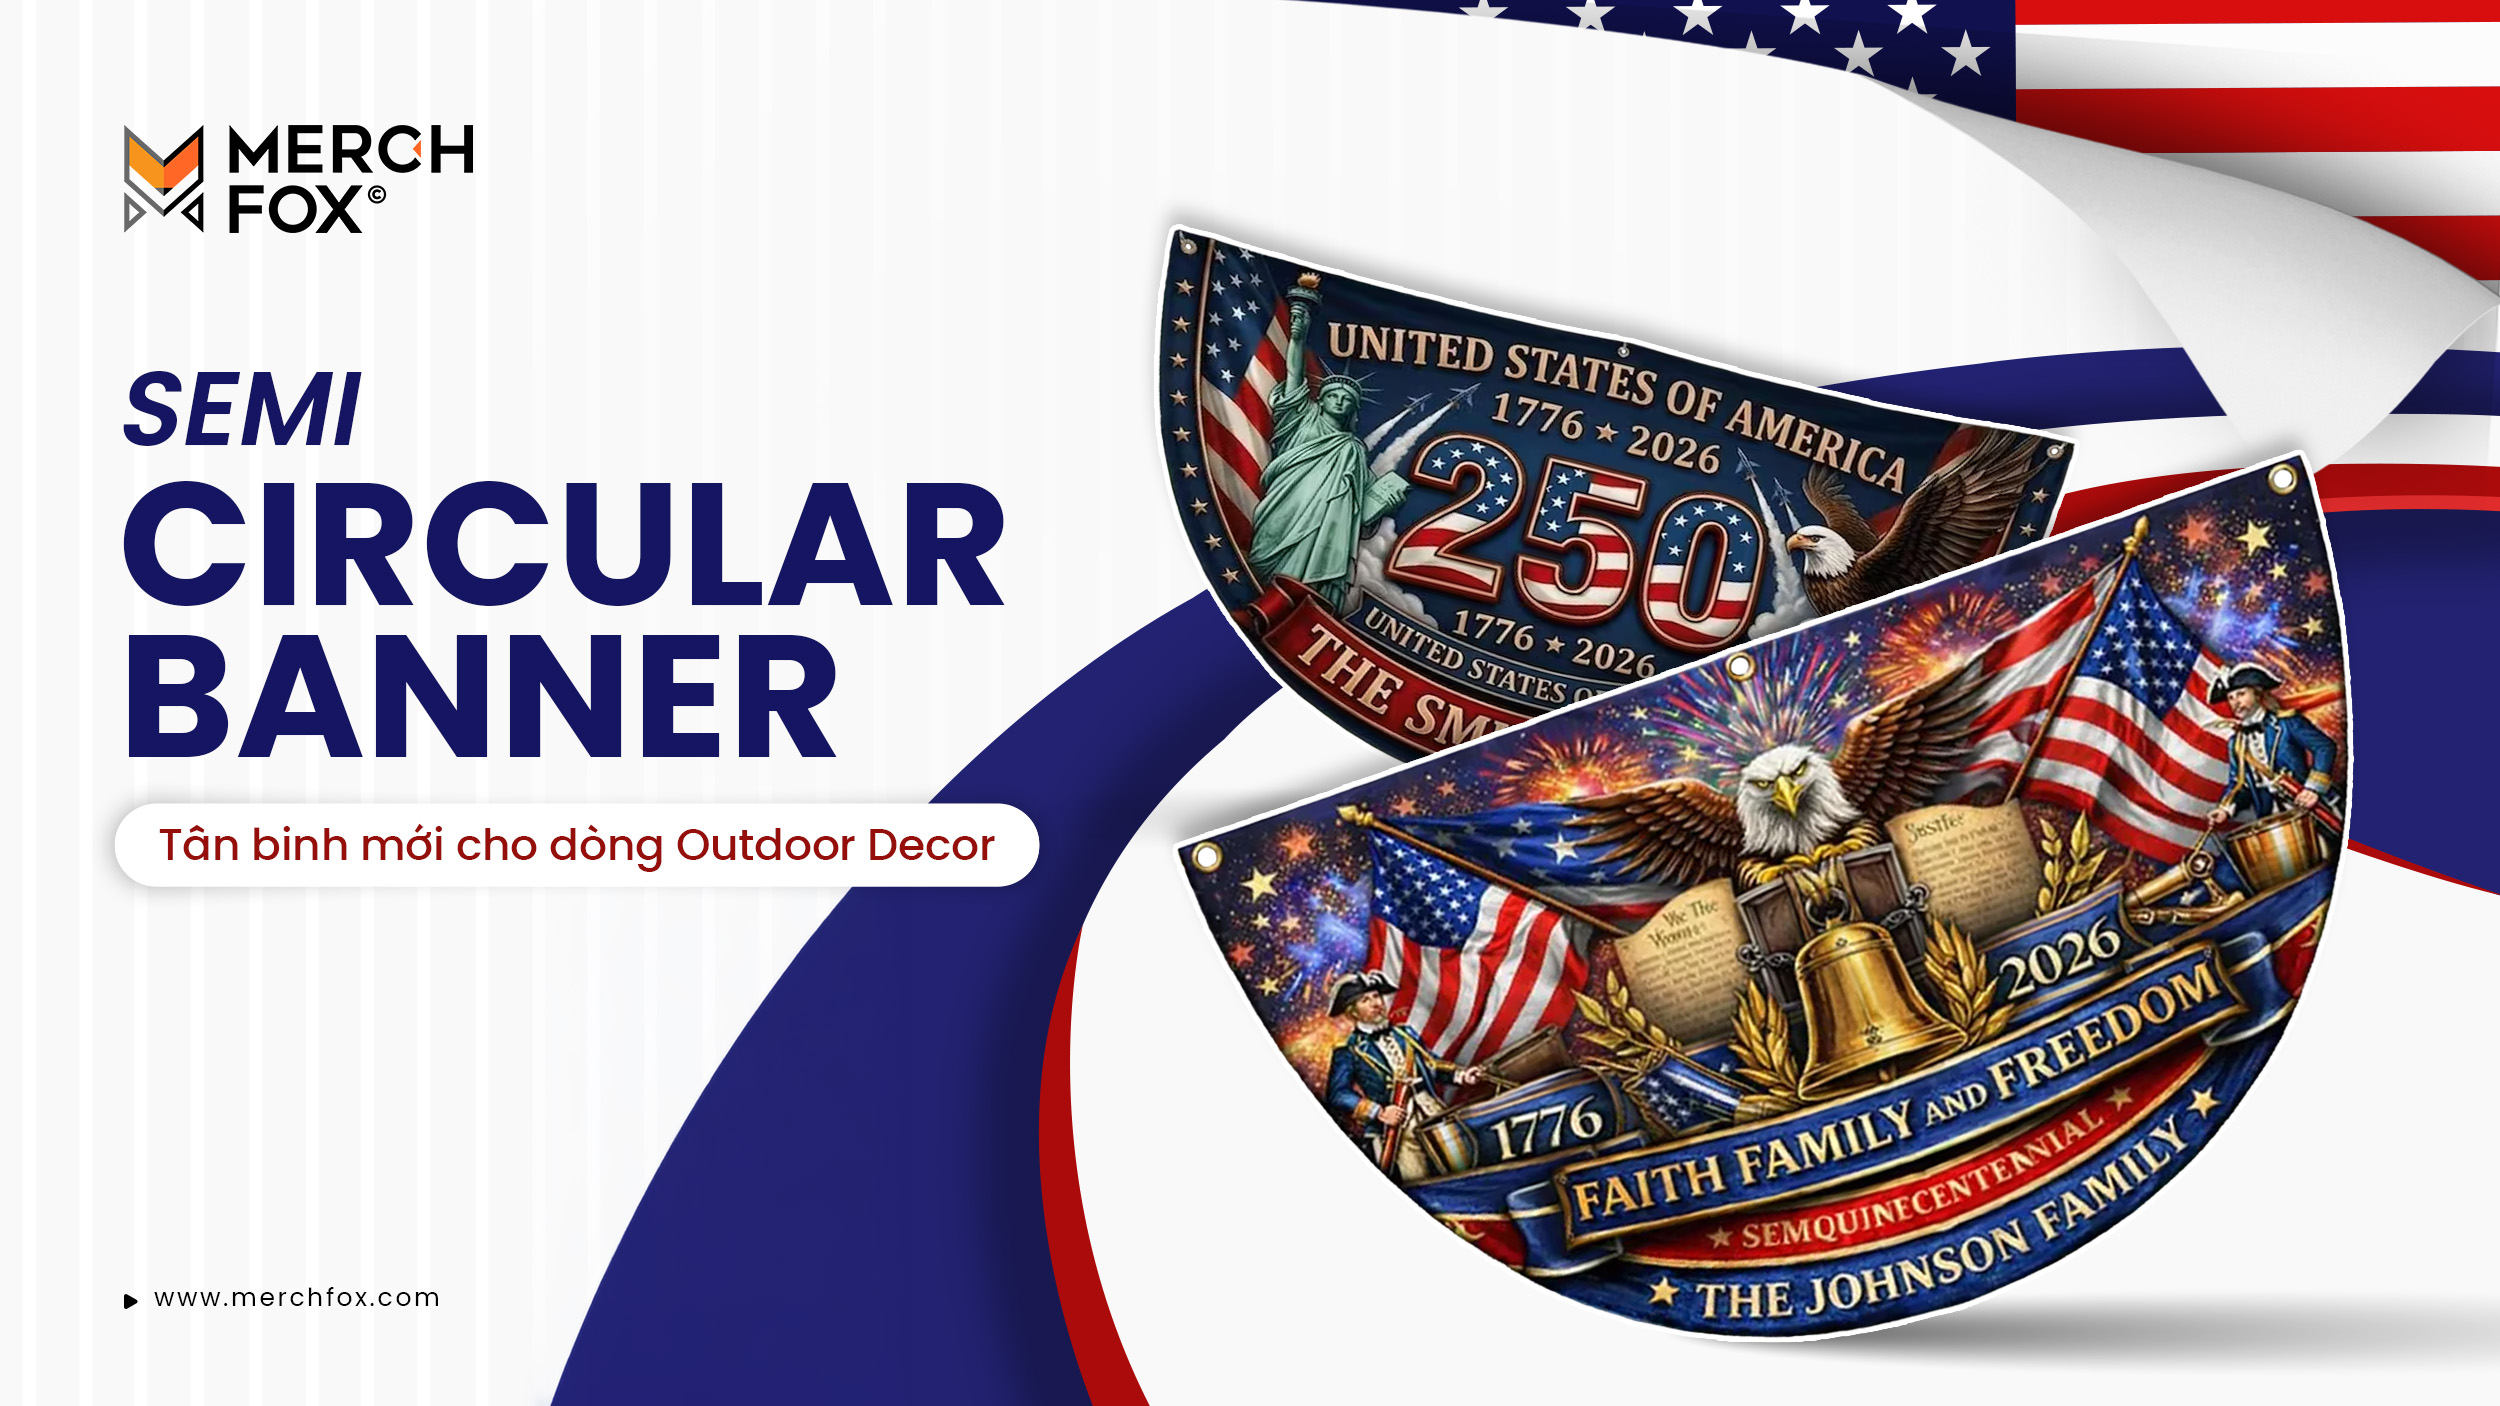
Among these emerging opportunities, the Semi-Circular Banner stands out as a product with strong visual presence and broad niche potential.
What Is a Semi-Circular Banner?
A Semi-Circular Banner, also known as a Half Circle Banner, is an outdoor display banner featuring a distinctive curved shape rather than the traditional rectangular format.
Its unique silhouette naturally draws attention, making it highly effective for:
Outdoor decoration
Event promotions
Sports celebrations
Seasonal campaigns
Patriotic displays
Party decorations
Because of its shape, the banner immediately stands out in social media photos, outdoor setups, and user-generated content (UGC).
For POD sellers, this creates an opportunity to offer something different from the standard products buyers see every day.
Why Semi-Circular Banners Are Worth Testing
1. Strong Visual Impact
One of the biggest challenges in ecommerce is capturing attention quickly.
Semi-Circular Banners solve this by offering:
Large display space
Unique shape
High visibility from a distance
Strong outdoor presence
When customers browse listings, products that look different naturally generate more interest and engagement.
2. Perfect for Seasonal Campaigns
Unlike evergreen products, some categories experience explosive demand during specific periods.
Semi-Circular Banners fit perfectly into major seasonal events such as:
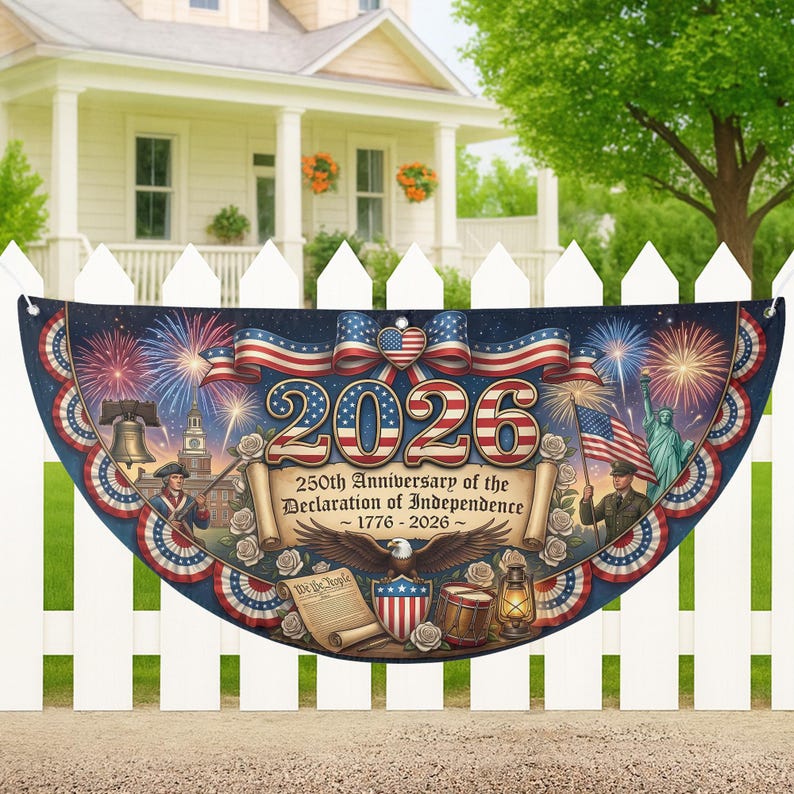
USA 250th Anniversary
Patriotic celebrations are expected to generate significant demand for outdoor decorations throughout 2026.
Potential designs include:
American flags
Historical themes
Veteran appreciation
Family celebration graphics
World Cup 2026
Sports fans love displaying team pride.
Banner concepts may include:
National team support
Custom fan designs
Sports quotes
Tournament celebrations
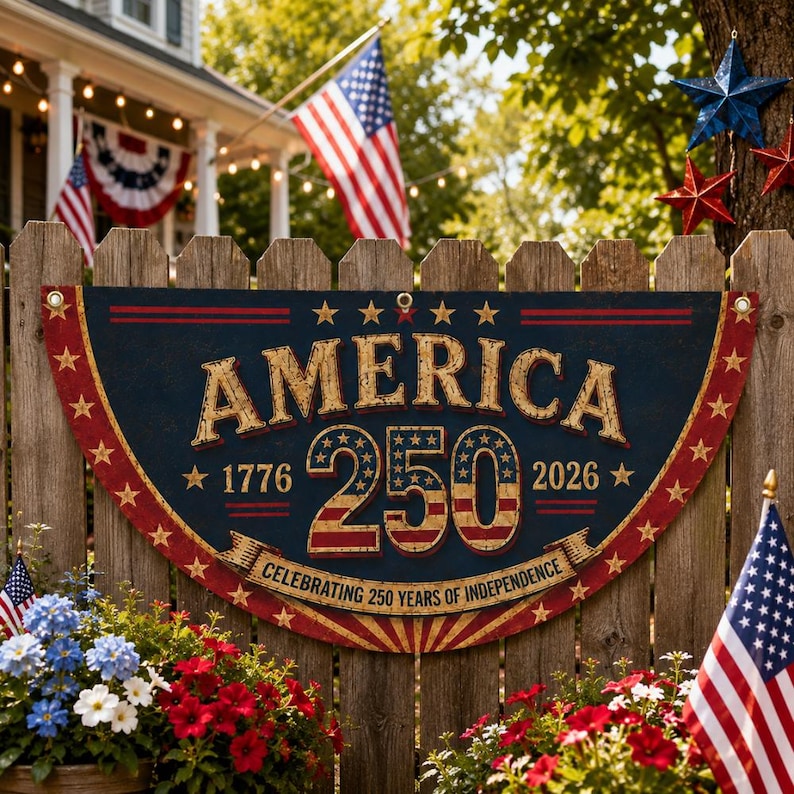
Fourth of July
One of the strongest seasonal opportunities in the US market.
Buyers actively look for:
Outdoor decorations
Garden displays
Party accessories
Patriotic home decor
Sports Seasons and Local Events
Community sports, tailgating events, and neighborhood celebrations create additional opportunities throughout the year.
3. Great Potential for Social Sharing
Products that photograph well often perform better online.
Semi-Circular Banners naturally encourage:
User-generated content
Event photography
Social media sharing
Outdoor display photos
This can increase organic exposure and improve customer engagement without requiring additional advertising spend.
Product Specifications
MerchFox's new Semi-Circular Banner is designed for both durability and visual performance.
Material
15oz Blockout Scrim Vinyl
Benefits include:
Excellent durability
Light-blocking construction
Reduced show-through
Professional appearance
Printing Technology
Solvent Printing
Advantages:
Sharp image quality
Vibrant colors
Long-lasting outdoor performance
Suitable for indoor and outdoor use
Premium Matte Finish
The matte surface helps:
Reduce glare
Improve readability
Create a modern, professional appearance
Available Sizes
To support different campaign needs, the product is available in:
36 x 18 inches
48 x 24 inches
72 x 36 inches
This flexibility allows sellers to target both personal and commercial use cases.
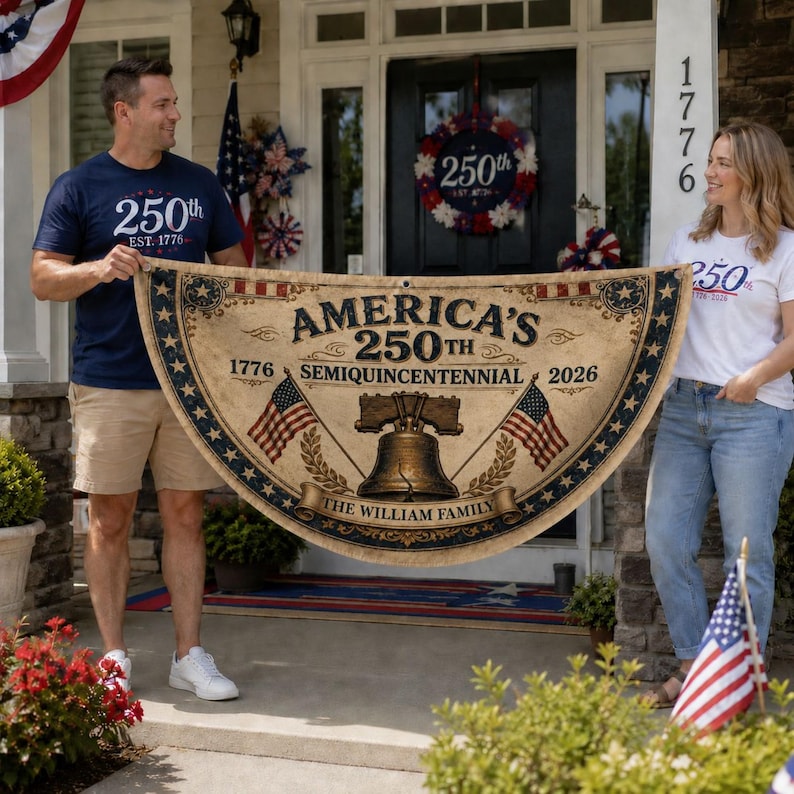
Ready for Immediate Display
Convenience matters to buyers.
Each Semi-Circular Banner includes:
White hanging ropes
Easy installation setup
Ready-to-use packaging
Customers can display the product immediately after receiving it, improving the overall user experience.
Best Niches for Semi-Circular Banner Designs
Patriotic Niche
Ideal for:
Veterans
Military families
National celebrations
Independence Day campaigns
Sports Fans
Great for:
Football fans
Soccer supporters
World Cup campaigns
Local team celebrations
Family Events
Popular occasions include:
Birthday parties
Family reunions
Graduation celebrations
Holiday gatherings
Business & Promotional Events
Small businesses can use personalized banners for:
Grand openings
Community events
Seasonal promotions
Local advertising
How MerchFox Helps Sellers Launch Faster
Adding new products is easier when your fulfillment partner already has the infrastructure in place.
With MerchFox, sellers can quickly integrate Semi-Circular Banners into their existing POD workflow through:
Automated fulfillment systems
Dashboard management
API integration
Excel and CSV upload support
Responsive support team
This allows sellers to focus on testing designs, launching campaigns, and scaling profitable niches.
Final Thoughts
The most successful POD sellers often discover opportunities before products become saturated.
Semi-Circular Banners offer a unique combination of:
Strong visual appeal
Seasonal demand
Outdoor versatility
Social media potential
Relatively low market competition
As major events such as the USA 250th Anniversary, World Cup 2026, Fourth of July, and sports seasons approach, this product category could become an attractive addition to many POD stores.
If you're looking to diversify beyond apparel and explore new outdoor decor opportunities, now may be the perfect time to test Semi-Circular Banners with MerchFox and prepare for the next wave of seasonal demand.


