


The Design-First Workflow in MerchFox allows merchants to create, fine-tune, and save artwork layouts as reusable design templates before assigning them to specific physical products. This approach saves time when scaling designs across multiple catalog categories (e.g., T-shirts, Hoodies, Sweatshirts, Mug, Tote bags) without starting from scratch every time.
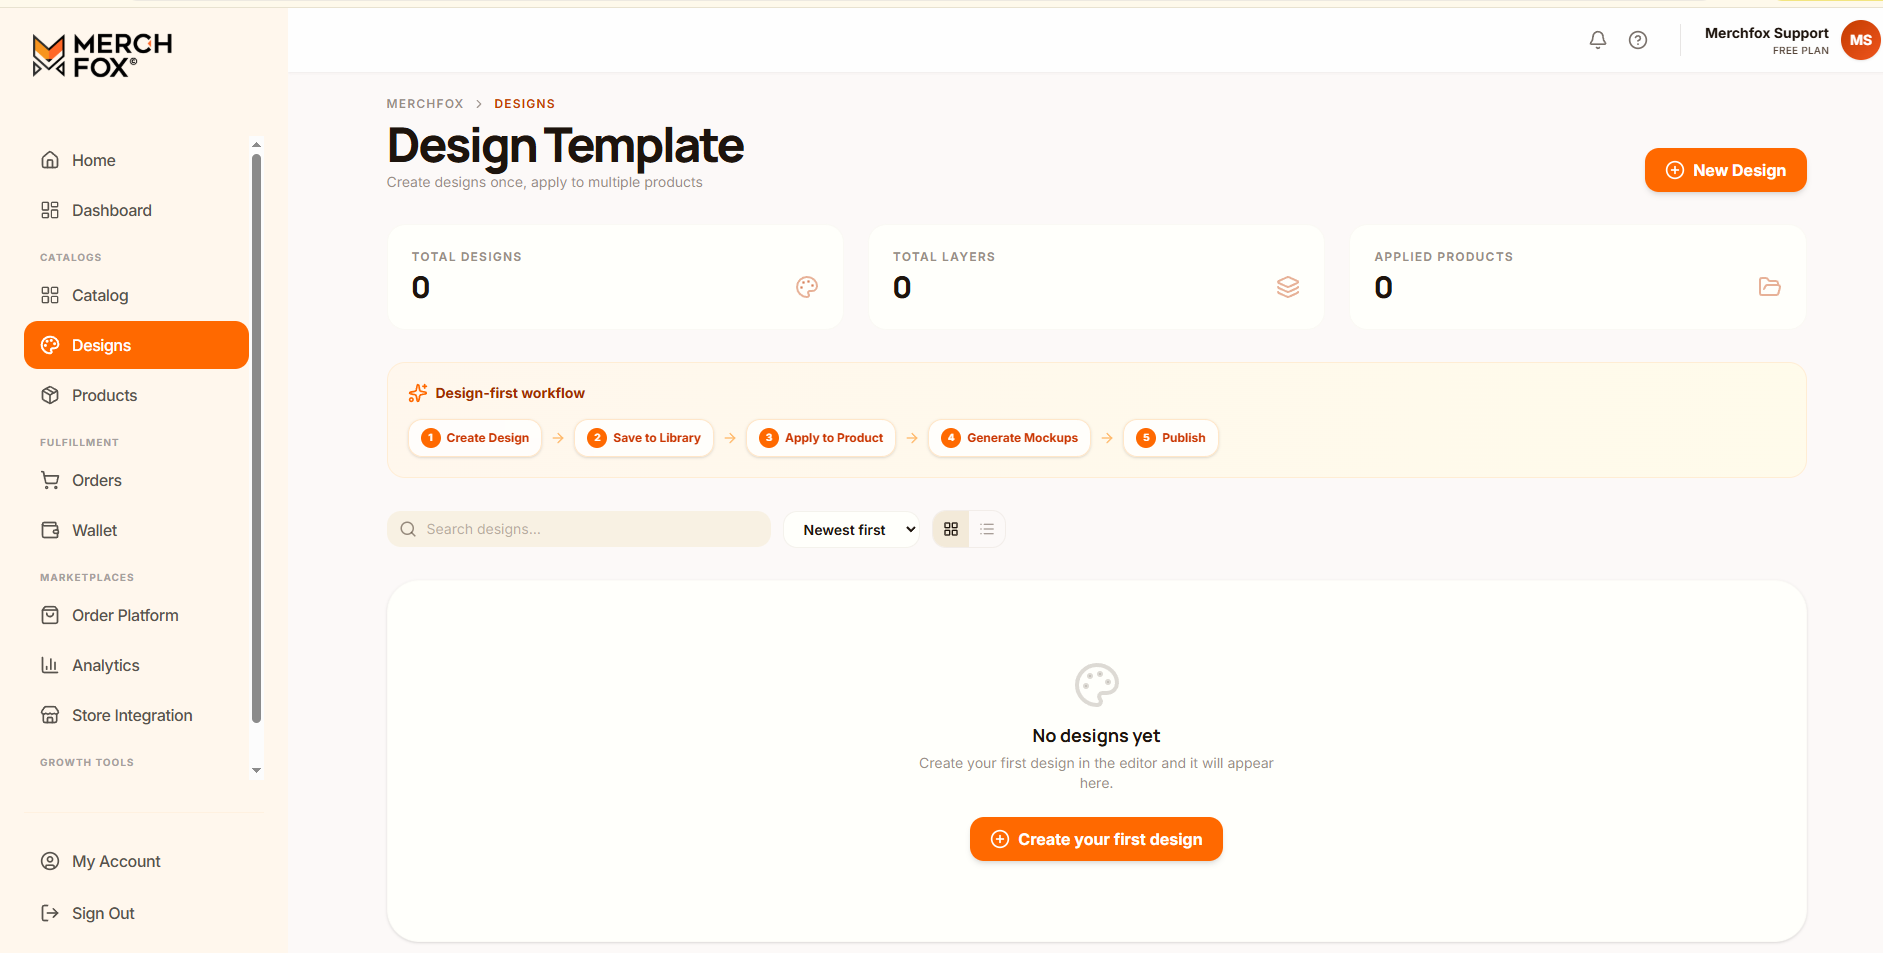
What is a Design Template?
A Design Template is a pre-configured layout preserved inside your MerchFox workspace. It stores:
Uploaded Layer Files: High-resolution graphics, logos, and elements.
Canvas Positions & Scale: Exact coordinates ($X, Y$), rotation angles, and scaling factors.
Layer Hierarchy: Stacking order, opacity levels, and alignment rules.
Multi-Position Configurations: Pre-placed designs for Front, Back, Sleeves, or Neck Labels.
Once saved, a Design Template can be applied to any compatible blank product in the catalog with a single click.
Step-by-Step: The Design-First Workflow
[ Step 1: Upload Artwork ] ➔ [ Step 2: Configure Canvas & Layers ] ➔ [ Step 3: Save as Template ] ➔ [ Step 4: Apply to Products ] ➔ [ Step 5: Publish to Store ]
Step 1: Prepare & Upload Artwork
Open the Design Editor or navigate to Library > Design Templates.
Click Create New Template or upload artwork files directly into the left sidebar asset panel.
Ensure graphics comply with standard 300 DPI specifications and transparent PNG format requirements.
Step 2: Configure Canvas Layout
Position elements within the printable safe zone using the alignment shortcuts (
Center Horizontal,Center Vertical, orFill Safe Zone).Adjust opacity, layer order, and scale in the PROPERTIES panel.
Switch print views (e.g., Front / Back) to configure secondary placements if needed.
Step 3: Save the Template
Once your placement is finalized, click the Save Template button located at the top-right toolbar of the Design Editor.
Enter a clear Template Title (e.g.,
Vintage Skull - Front & Back Layout).(Optional) Assign Tags or Categories to keep your asset workspace organized.
Click Confirm & Save. The template is now stored under your account's Design Library.
Applying Templates to Blank Products
Once a Design Template is saved, launching new product variants takes only a few seconds:
Browse the Product Catalog and select a target apparel or accessory item (e.g., Unisex Heavy Blend Hoodie).
Click Start Designing.
In the left sidebar of the editor, click Apply Template.
Select your saved template from the pop-up modal.
The editor will automatically map all pre-saved layers, relative scales, and print positions onto the selected garment canvas.
Make minor scale adjustments if necessary, then proceed to Create Product & Mockups.
Managing Saved Templates
Access and manage all saved design assets directly from your MerchFox dashboard:
Navigation: Go to Products > Design Templates.
Edit Layout: Open an existing template to modify placement, update graphic layers, or tweak multi-view configurations.
Duplicate Template: Create a copy of an existing template to make quick colorway variations (e.g., White-text version vs. Black-text version).
Delete Template: Remove outdated design layouts from your workspace. (Note: Deleting a template does not affect live products already published to your sales channels).
Frequently Asked Questions
What happens if I apply a T-shirt design template to a smaller item like a Mug or Cap?
MerchFox automatically scales the template layers proportionally to fit inside the safe zone of the target product. You can do a quick manual check in the canvas preview before saving.
Can I update a template and have it automatically update live store listings?
No. Templates serve as base blueprints during the product creation phase. Updating a template affects future product pushes. To update an existing published product on Shopify or WooCommerce, edit that specific product directly from My Products.
Was this article helpful?
Let us know so we can continue improving our help center.